16. CSV Import
General
Using the CSV Import, several customer data can be imported at once in a simple way. For this purpose a CSV file should be available, with a minimum of the following columns:
Other supported columns are:
- First name
- Last name
- Order ID
- Product ID
- Password
During import, DigiMember orders are created as if they were submitted via a payment provider. Products can either be assigned via a column in the CSV file, or they can be fixed.
Instructions
Select 1st file
Click Select to find the CSV file on your PC.
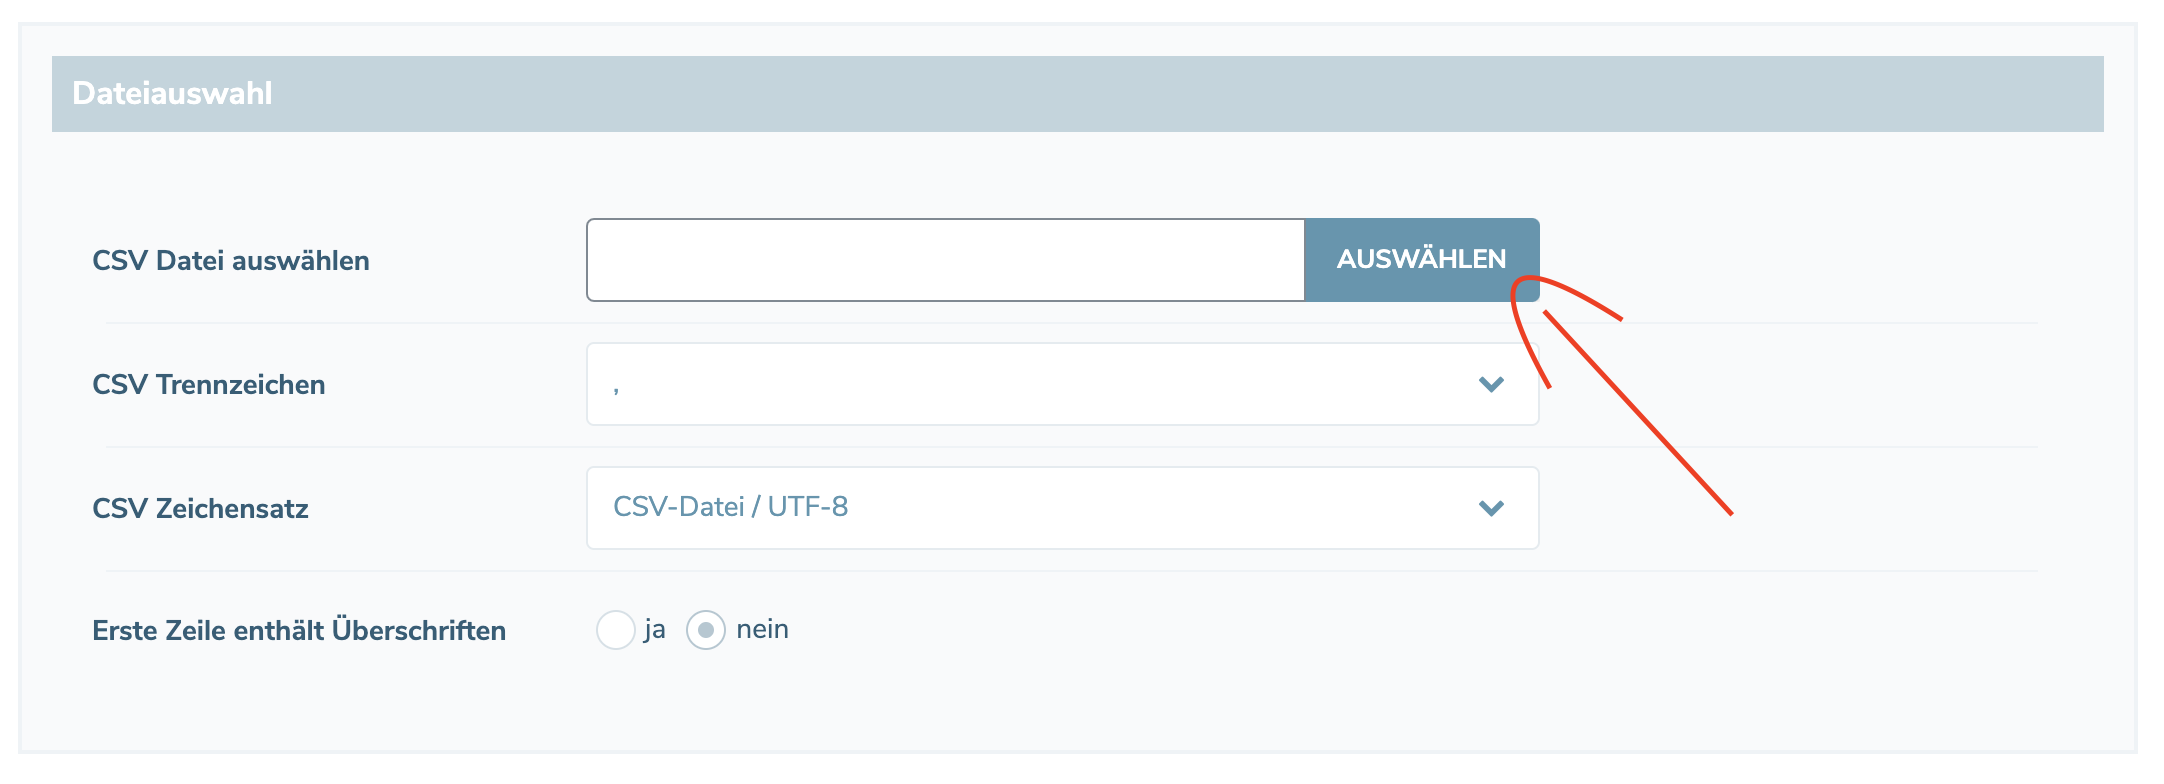
2. set file format
The file format is very flexible. You can choose between different separators and file encodings. To do this, change the CSV separator and CSV character set. If you are not sure, check the data below after file selection and adjust the two options until the columns are recognized & there are no more character errors in the text.
Set 3rd columns
The import function will automatically try to select the best column configuration based on your data. However, this does not always work 100% and usually needs to be adjusted. Click on the drop down menu of one of the columns and define the function.
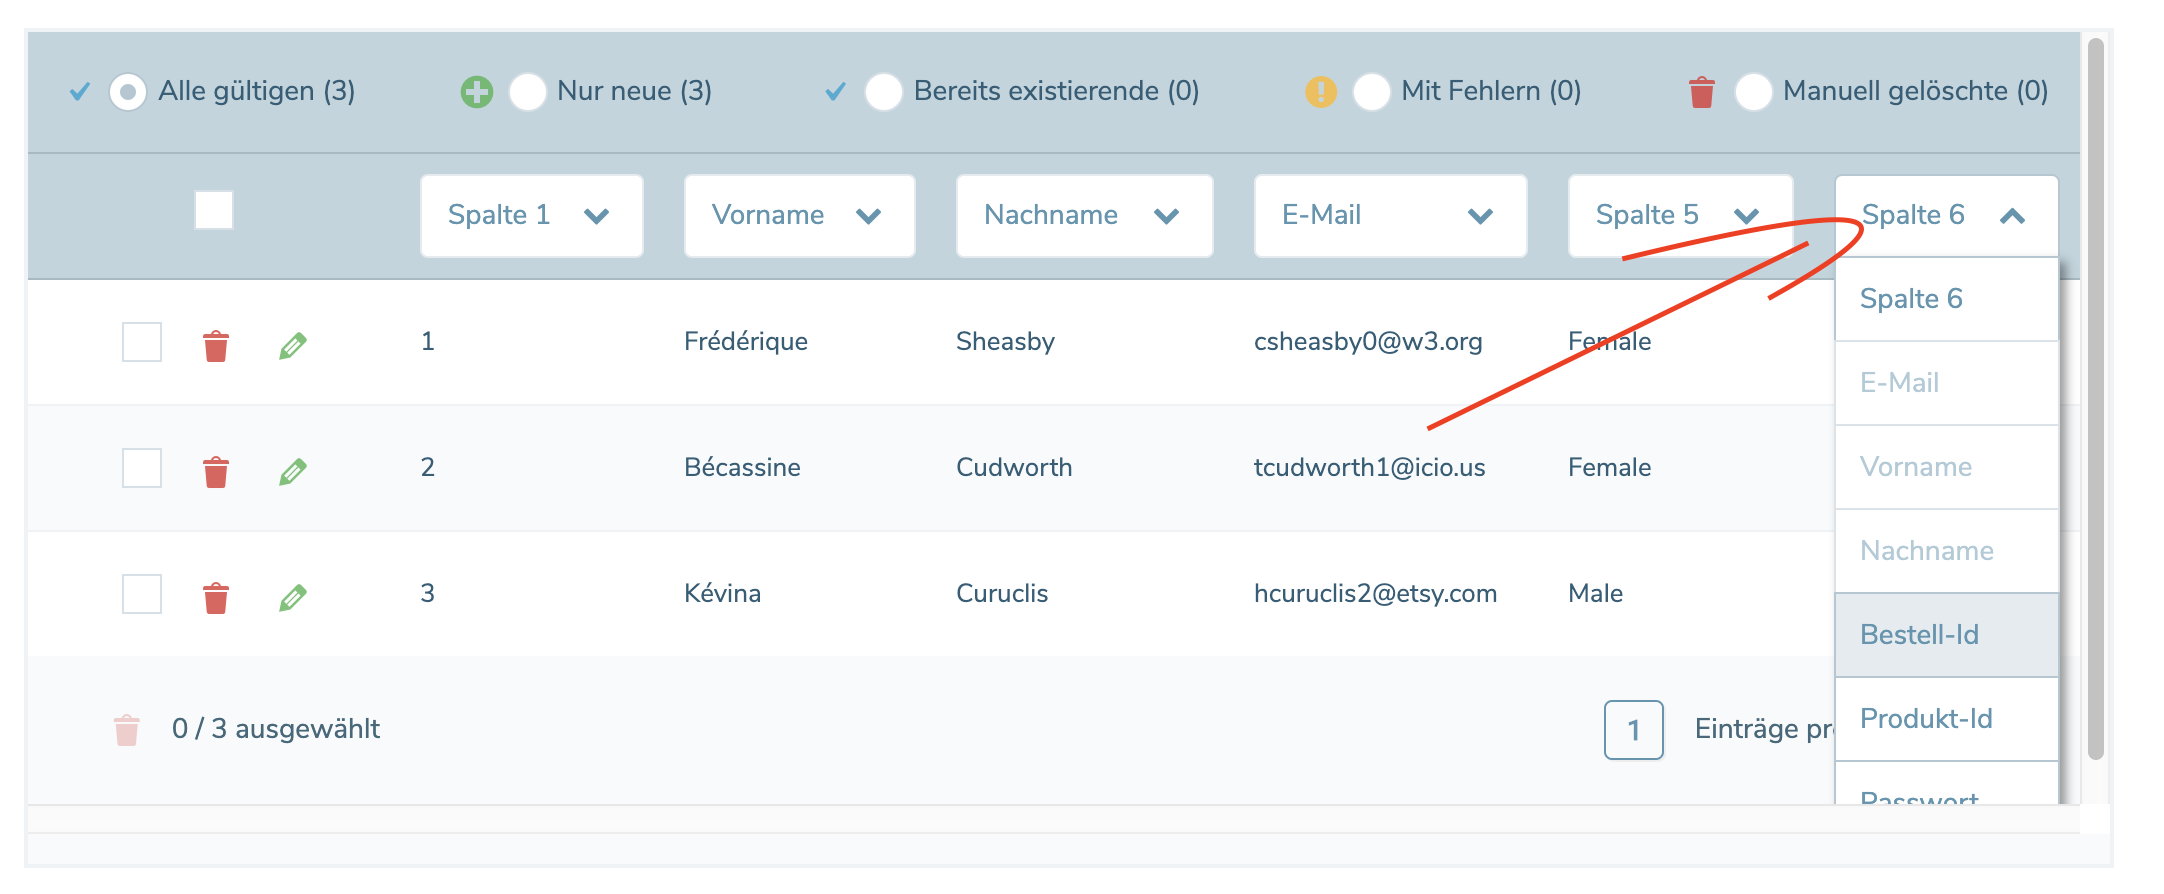 The E-Mail column is mandatory, the rest can remain neutral if the corresponding data is not available.
4. check data
The software will automatically check if the customer already has an account after selecting the e-mail column. This is made clear by the display in the filter function.
 If necessary, you can now edit the data manually. Use the buttons for delete & edit (
Under the filter With errors entries are displayed which were not recognized as valid (e.g. no valid e-mail address). These must be corrected before the import can be started.
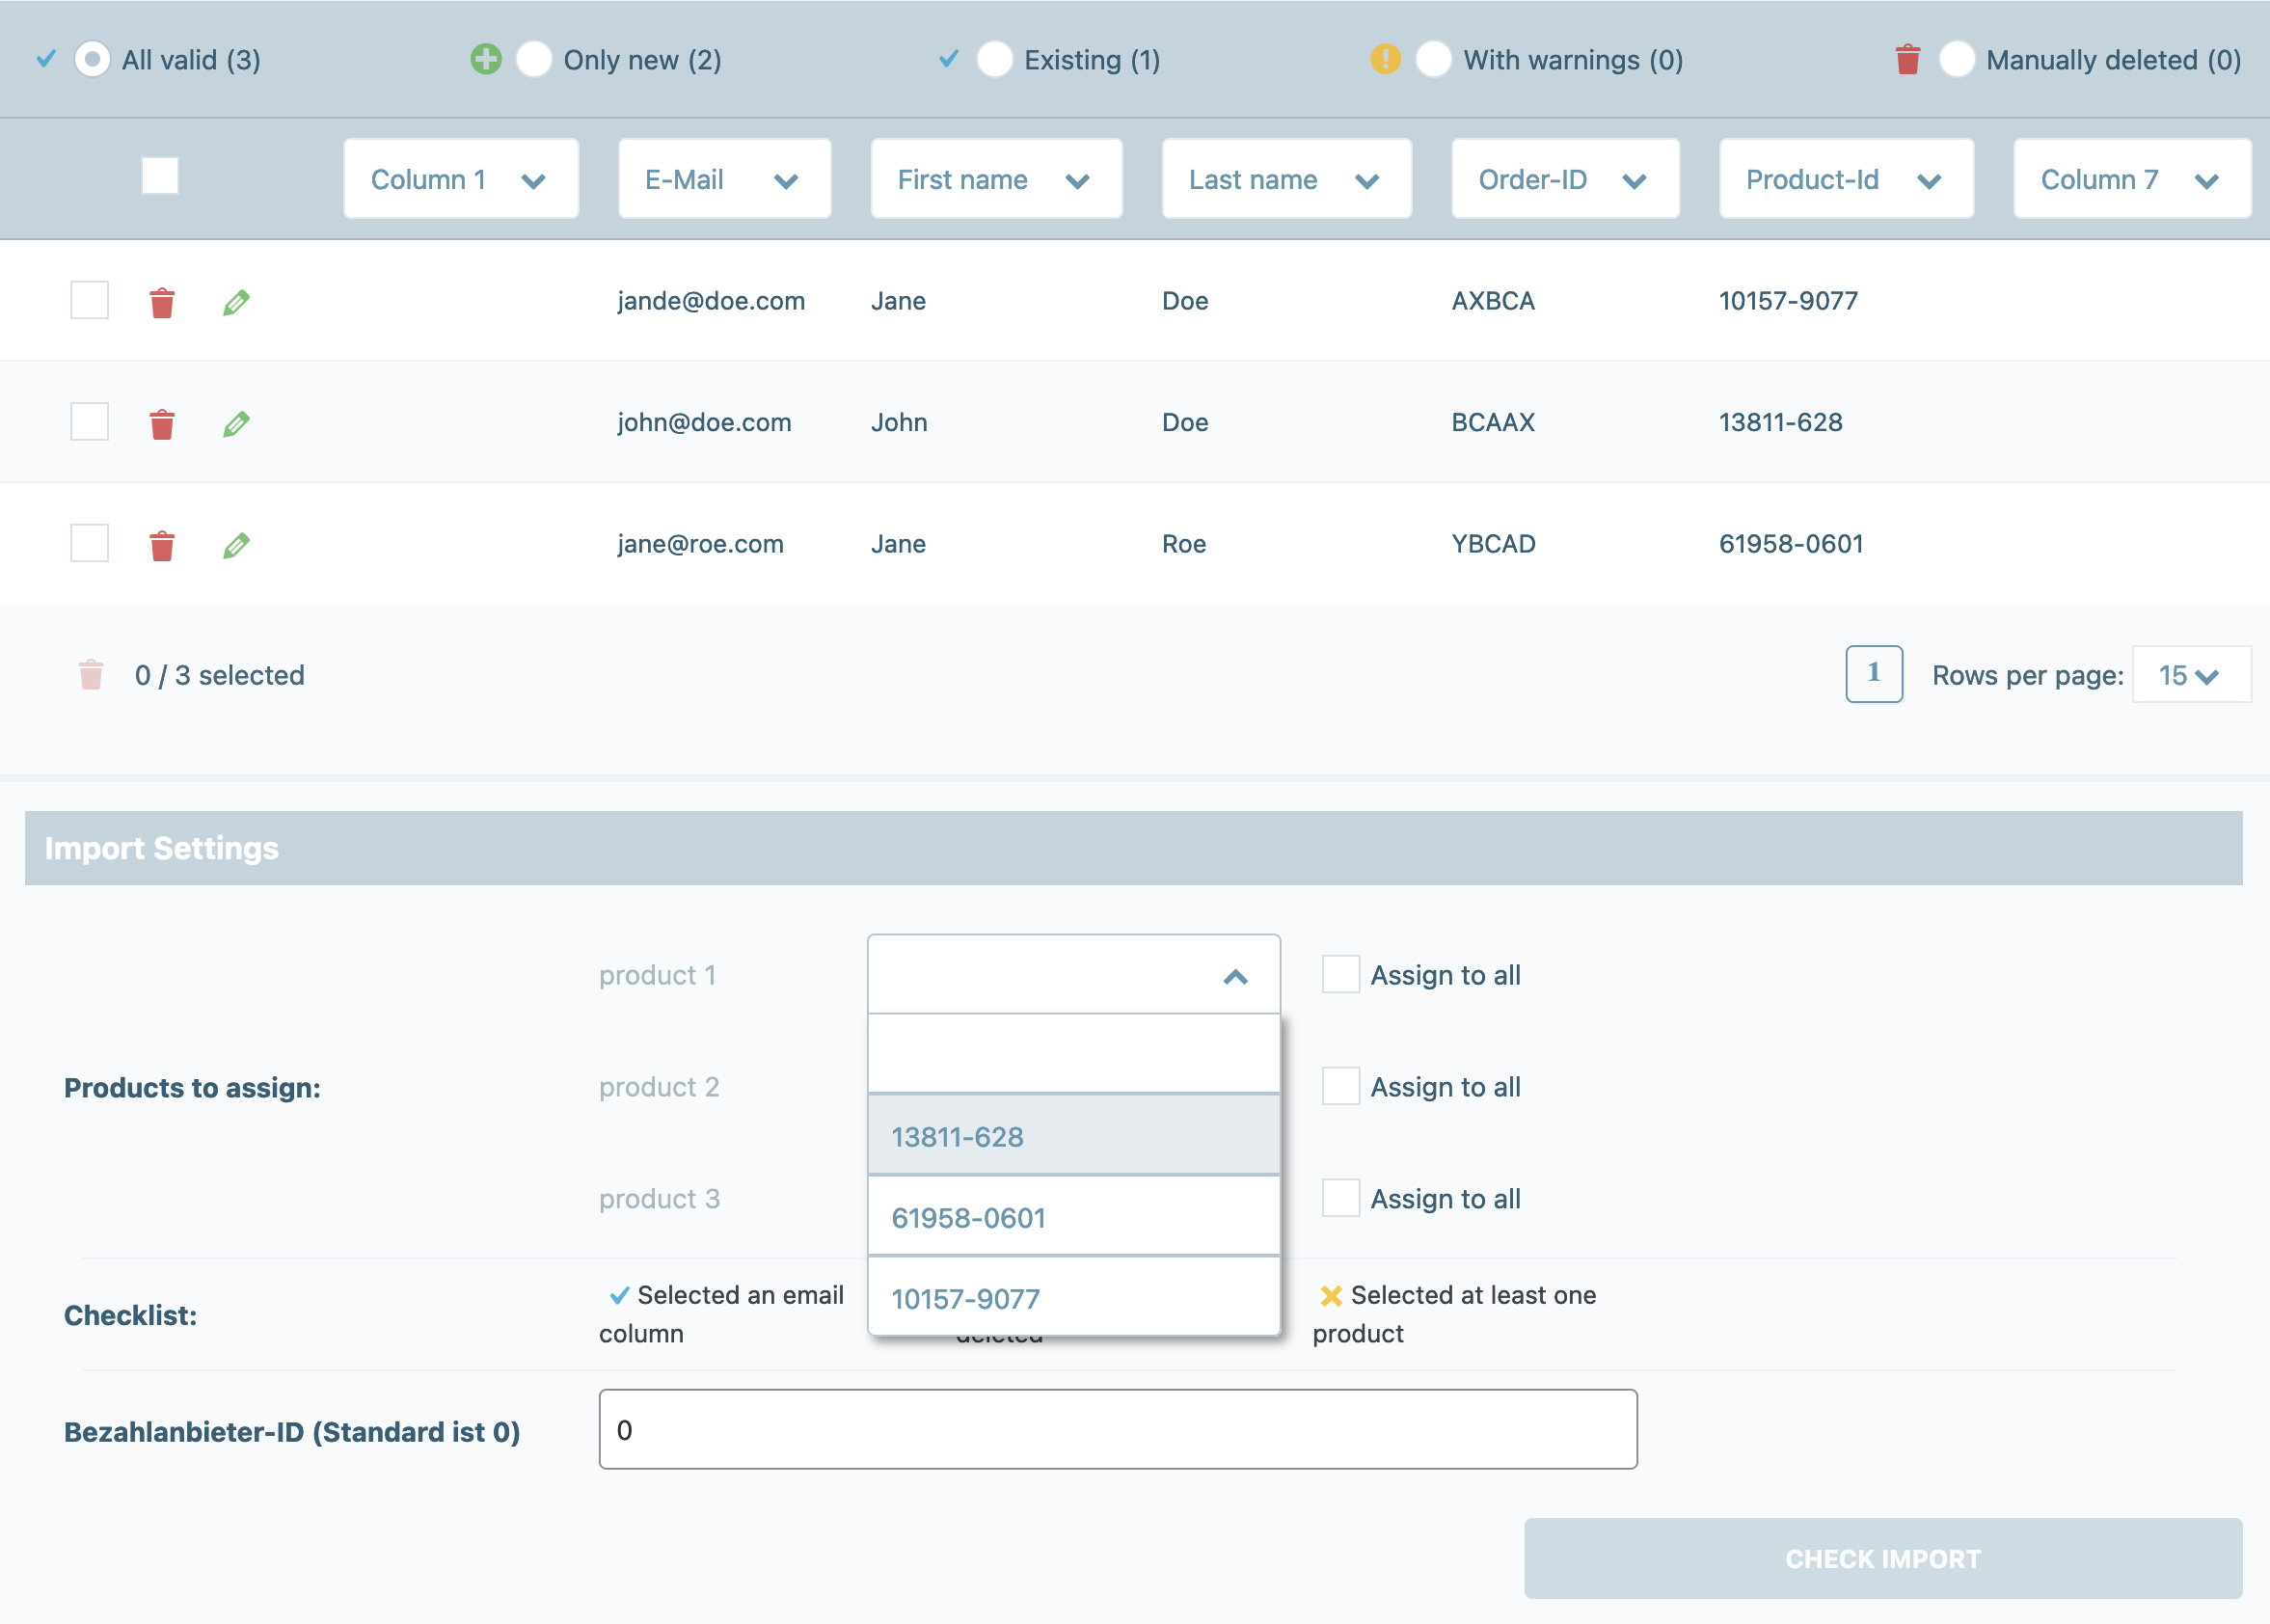
5. assign products
Assign to all
Under Import settings, select at least one product that will be assigned to the order.

Via the product column
If you have selected a Product ID column, the display for the product selection changes. You can now assign a corresponding Product ID from the column to your products created in DigiMember, or assign a specific product to all imported orders. This is useful, for example, if you switch from another system to DigiMember and have already linked the records there to products.
6th checklist
Possible sources of error for the import are now displayed in the checklist. You must correct these errors, otherwise the Check Import button is not enabled.

7th order ID
If you have not selected an Order ID column, you can define your own ID here. This works the same way as when you create an order manually.

Important: This field is not displayed if there is no corresponding Column selected.
8. check import
Now click the Import Check button. You will get another short overview of the effects of the import process.
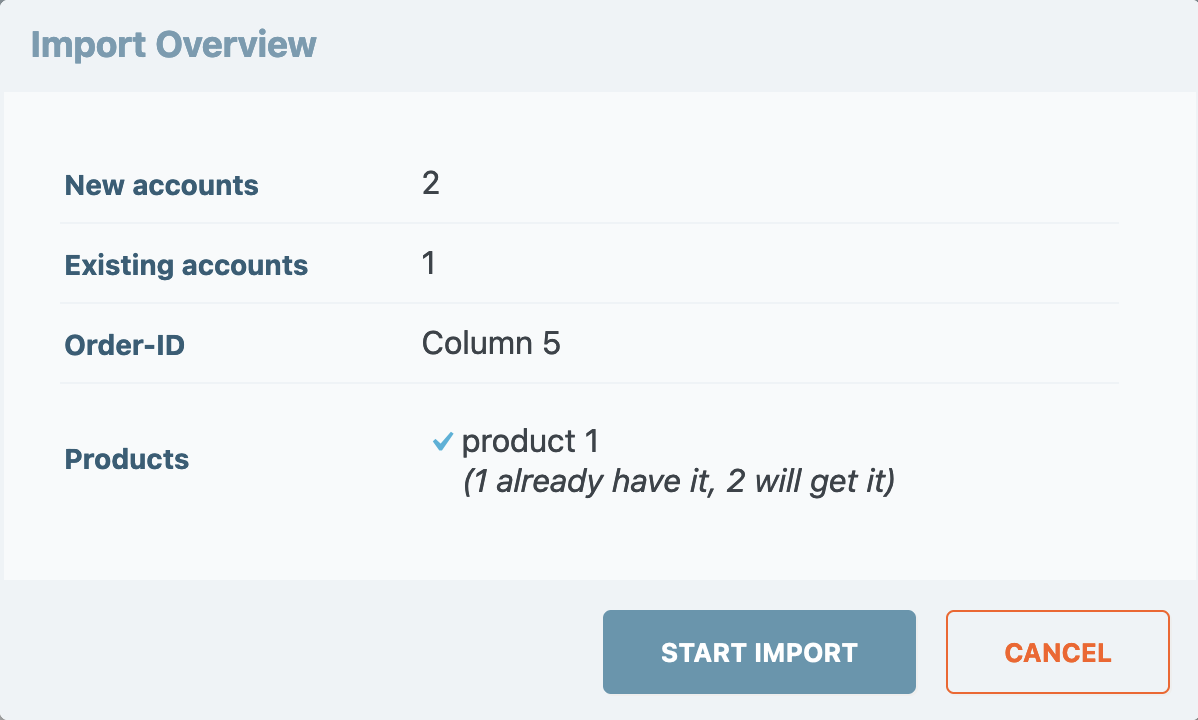 Continue by clicking the **Start Import** button.
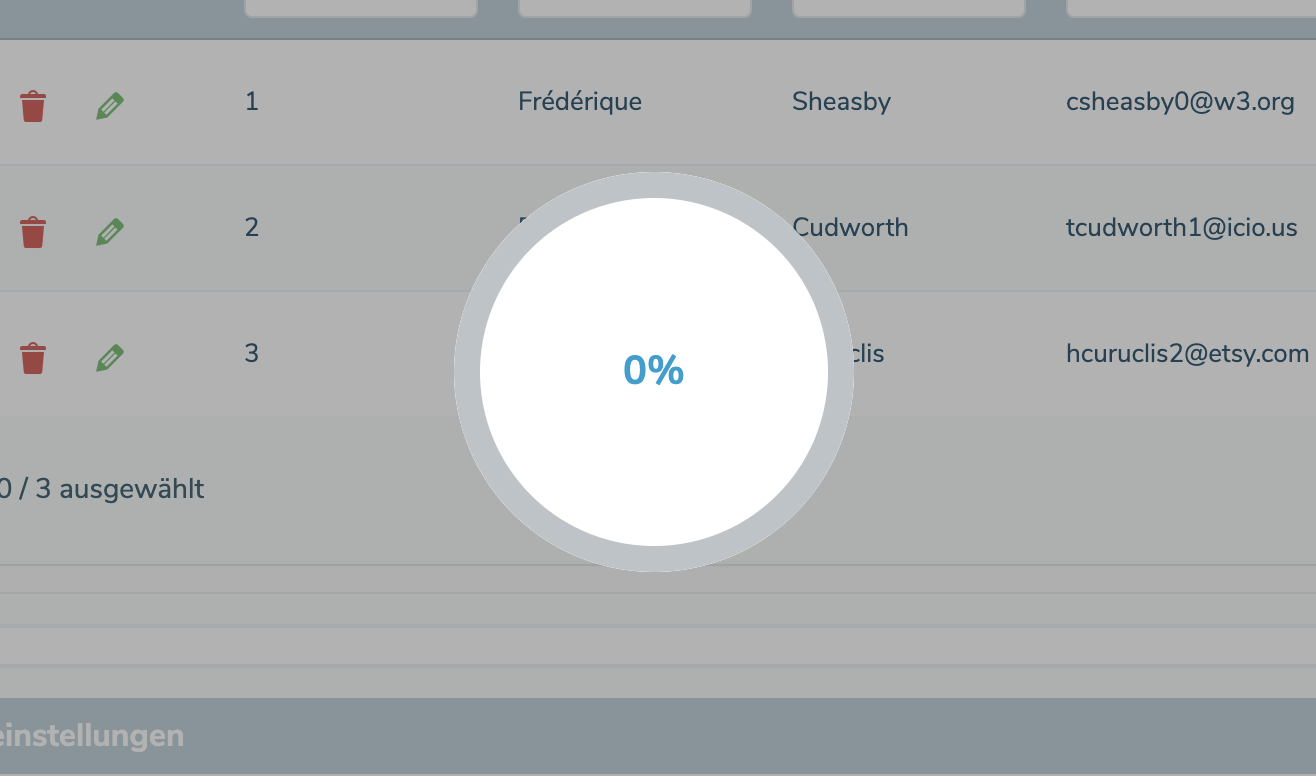
9th import process
The import process is now started. This may take a while, depending on the number of records. Do not reload the page at any time during this process.
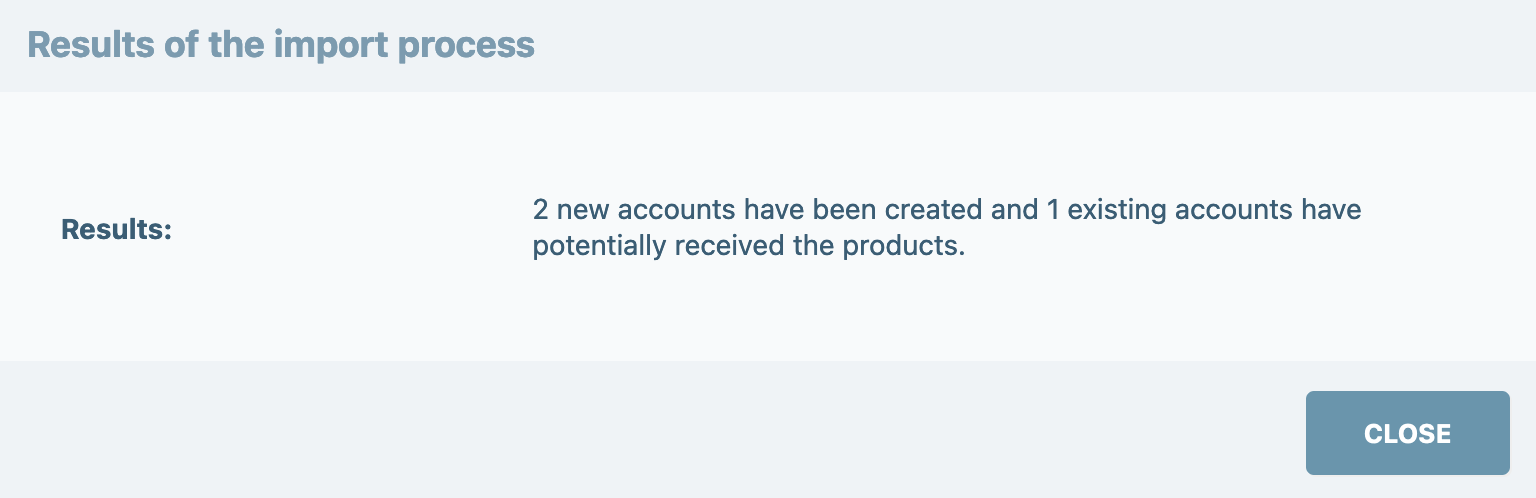
10th final report
Once the import is complete, you will receive a final report of the results. Errors during import are displayed here accordingly and can be re-imported after the data has been changed.
Columns
Here are some brief explanations of the special features of the following columns.
Order ID
The order ID serves to identify the order. This is important e.g. if you import data from Digistore24 and want to use the IPN connection of Digistore, e.g. to cancel current orders in case of interruption. In this case the order ID in the data record should correspond to the ID stored at Digistore24.
Product ID
The Product ID column lets you assign your products dynamically. For example, if you switch from another software to DigiMember, you can use this column to coordinate the Product Assignment on the new page.
Password
Normally a password is automatically assigned to the customer. Using the password column you have the possibility to assign an already defined password to each customer. This can be useful if you want to change a page move / URL, but you do not want to change the access data of the users. In both cases the customer will receive an e-mail with his access data.