17. Zapier and DigiMember
Overview
Caution: Refunding and cancelling of order is only available with DigiMember 3.5.0 or newer.
Zapier is a great possibility to connect DigiMember to over 1.500 amazing apps and tools! By connecting DigiMember and Zapier you can automate your DigiMember plugin even more.
To use this integration, you'll need a (free) Zapier account.
In general, there are (currently) two directions on how to combine DigiMember and Zapier.
- Bring data from DigiMember to another app, using Zapier. By doing this you can inform another app when a new order was placed (DigiMember is the so-called trigger here).
- Bring data from another app to DigiMember, using Zapier. By doing this you can create, refund or cancel an order in DigiMember based on the information you get from the other app (DigiMember is the so-called action here).
Connect DigiMember with Zapier
In Zapier select
Home > My Apps > Connect a New AccountSelect
DigiMember 1.0.2from that list.Enter the complete URL of your WordPress blog (e.g. https://wwww.myOwnSite.com/)
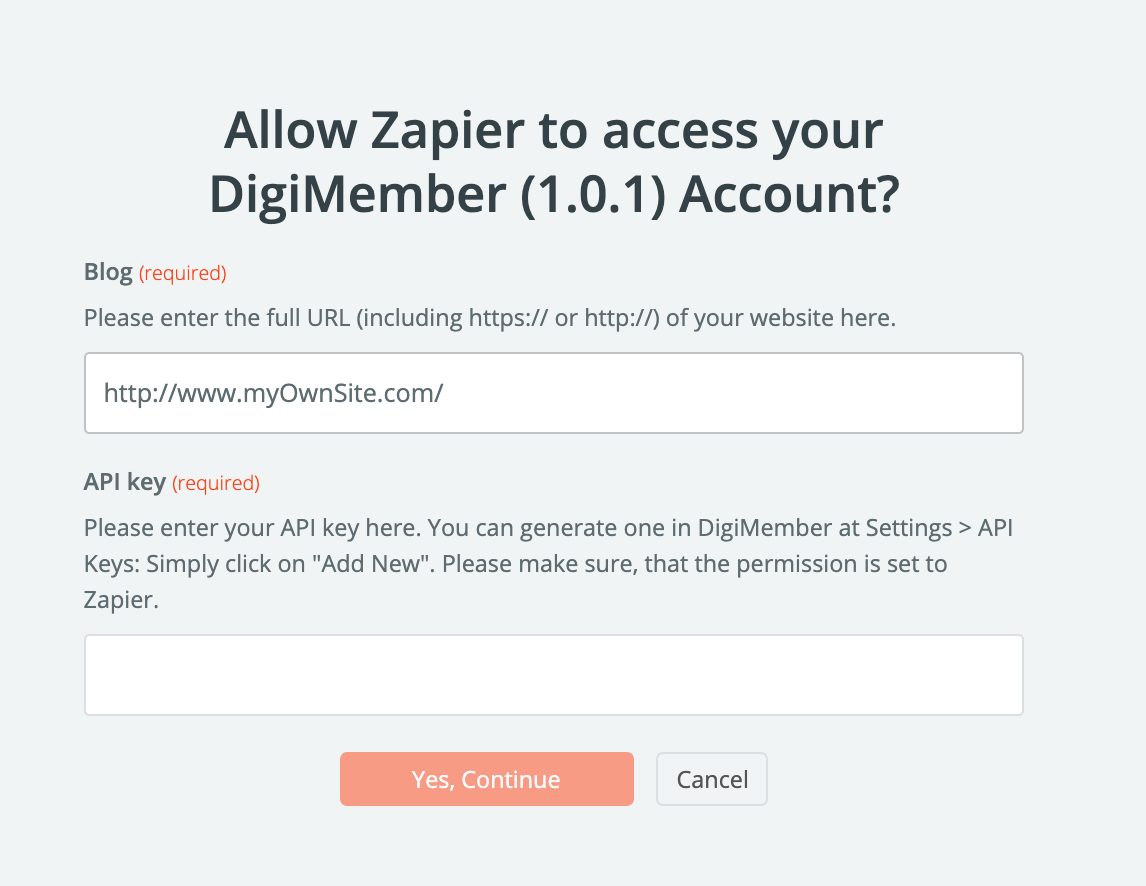
Create an API Key in DigiMember for Zapier. To do this, visit the DigiMember backend on your WordPress page and click
Settings > API Keys > Add newand select Zapier.
(Hint: This is a DigiMember PRO Feature and cannot be used with the free version)Copy this key to your clipboard and paste it into Zapier.
Test the connection.
=> Congratulations! Zapier and DigiMember are now connected
DigiMember as an action in Zapier
Create a new Zap
Configure the app you want to use as an input trigger (meaning the app that should deliver the data for your DigiMember orders, e.g. an application form)
In the second step select DigiMember as "app" and e.g. "Create an Order" as the Action Event.
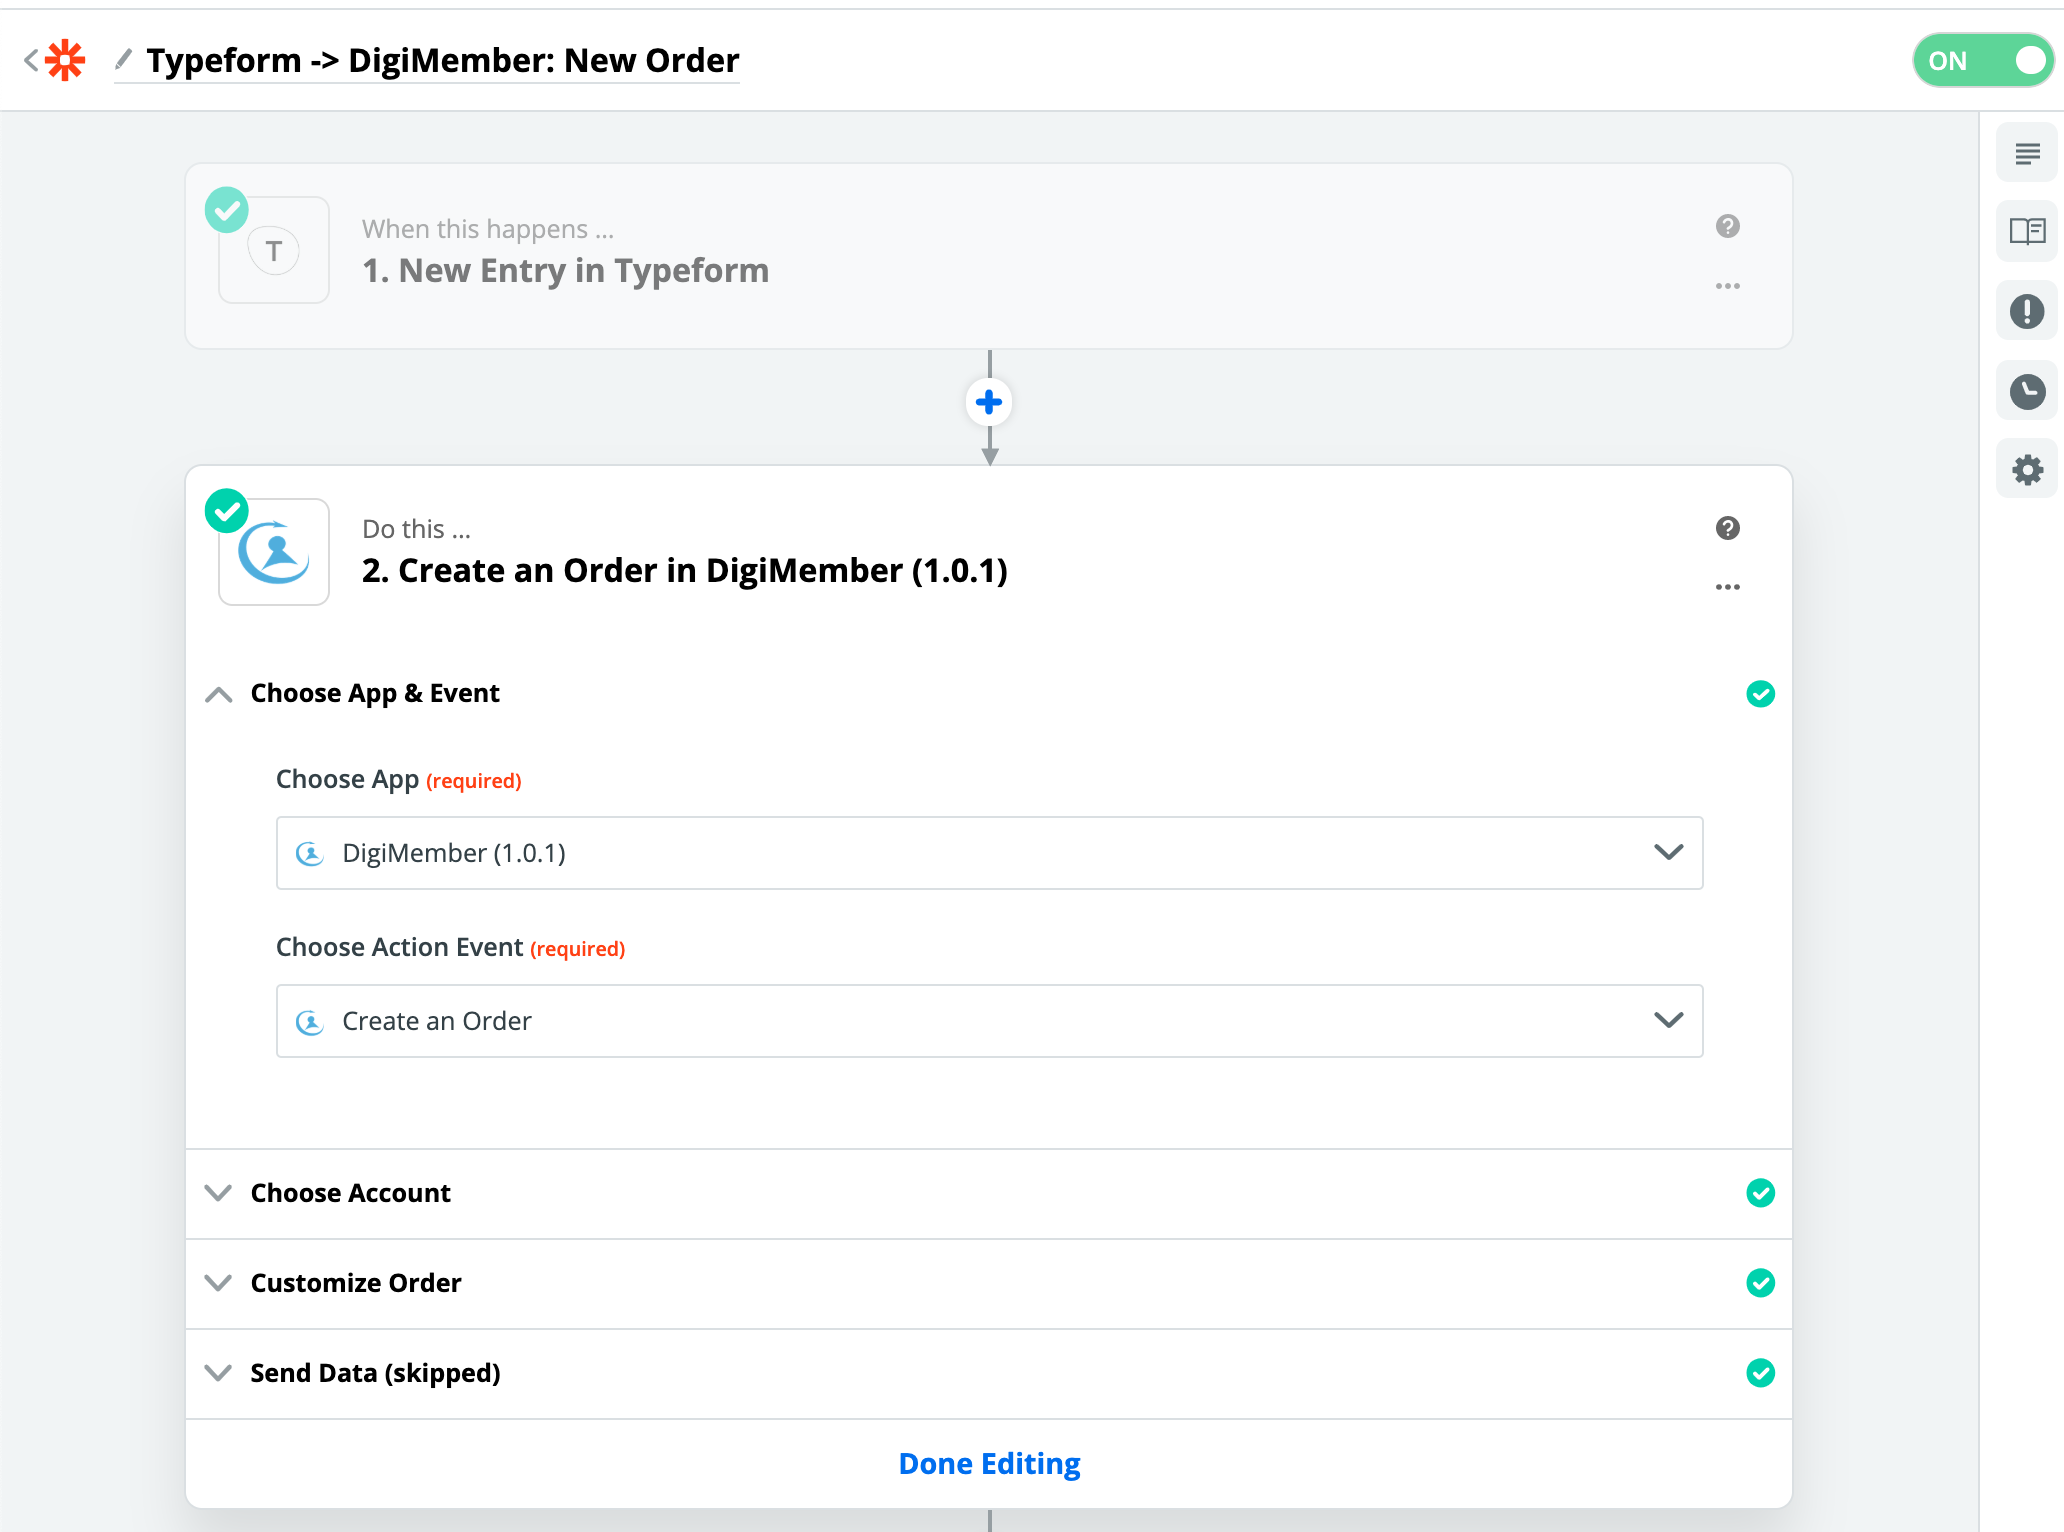
Select the account that you just connected to Zapier or connect a new account
Match the data from your trigger app with the matching data fields in DigiMember:
You can use the following fields (Only e-mail address is mandatory. ):
E-Mail
prename
family name
Order ID
Select the product that should be delivered from the list of your DigiMember products.
Test your zap. Please keep in mind that there will be an e-mail sent as usual (containing the login credentials) using the test data you provided, so you might want to use one of your own e-mail addresses.
Turn your zap on.
To cancel or refund an order in DigiMember using Zapier, please create additional, new zaps for each.
DigiMember as a trigger in Zapier
Create a new Zap
Select DigiMember as the trigger app and "New Order" as the trigger event.
If the zap should only trigger for an order of a single product, select the name of that product otherwise select
allfrom the dropdown list.Do a quick test if Zapier can find your latest order.
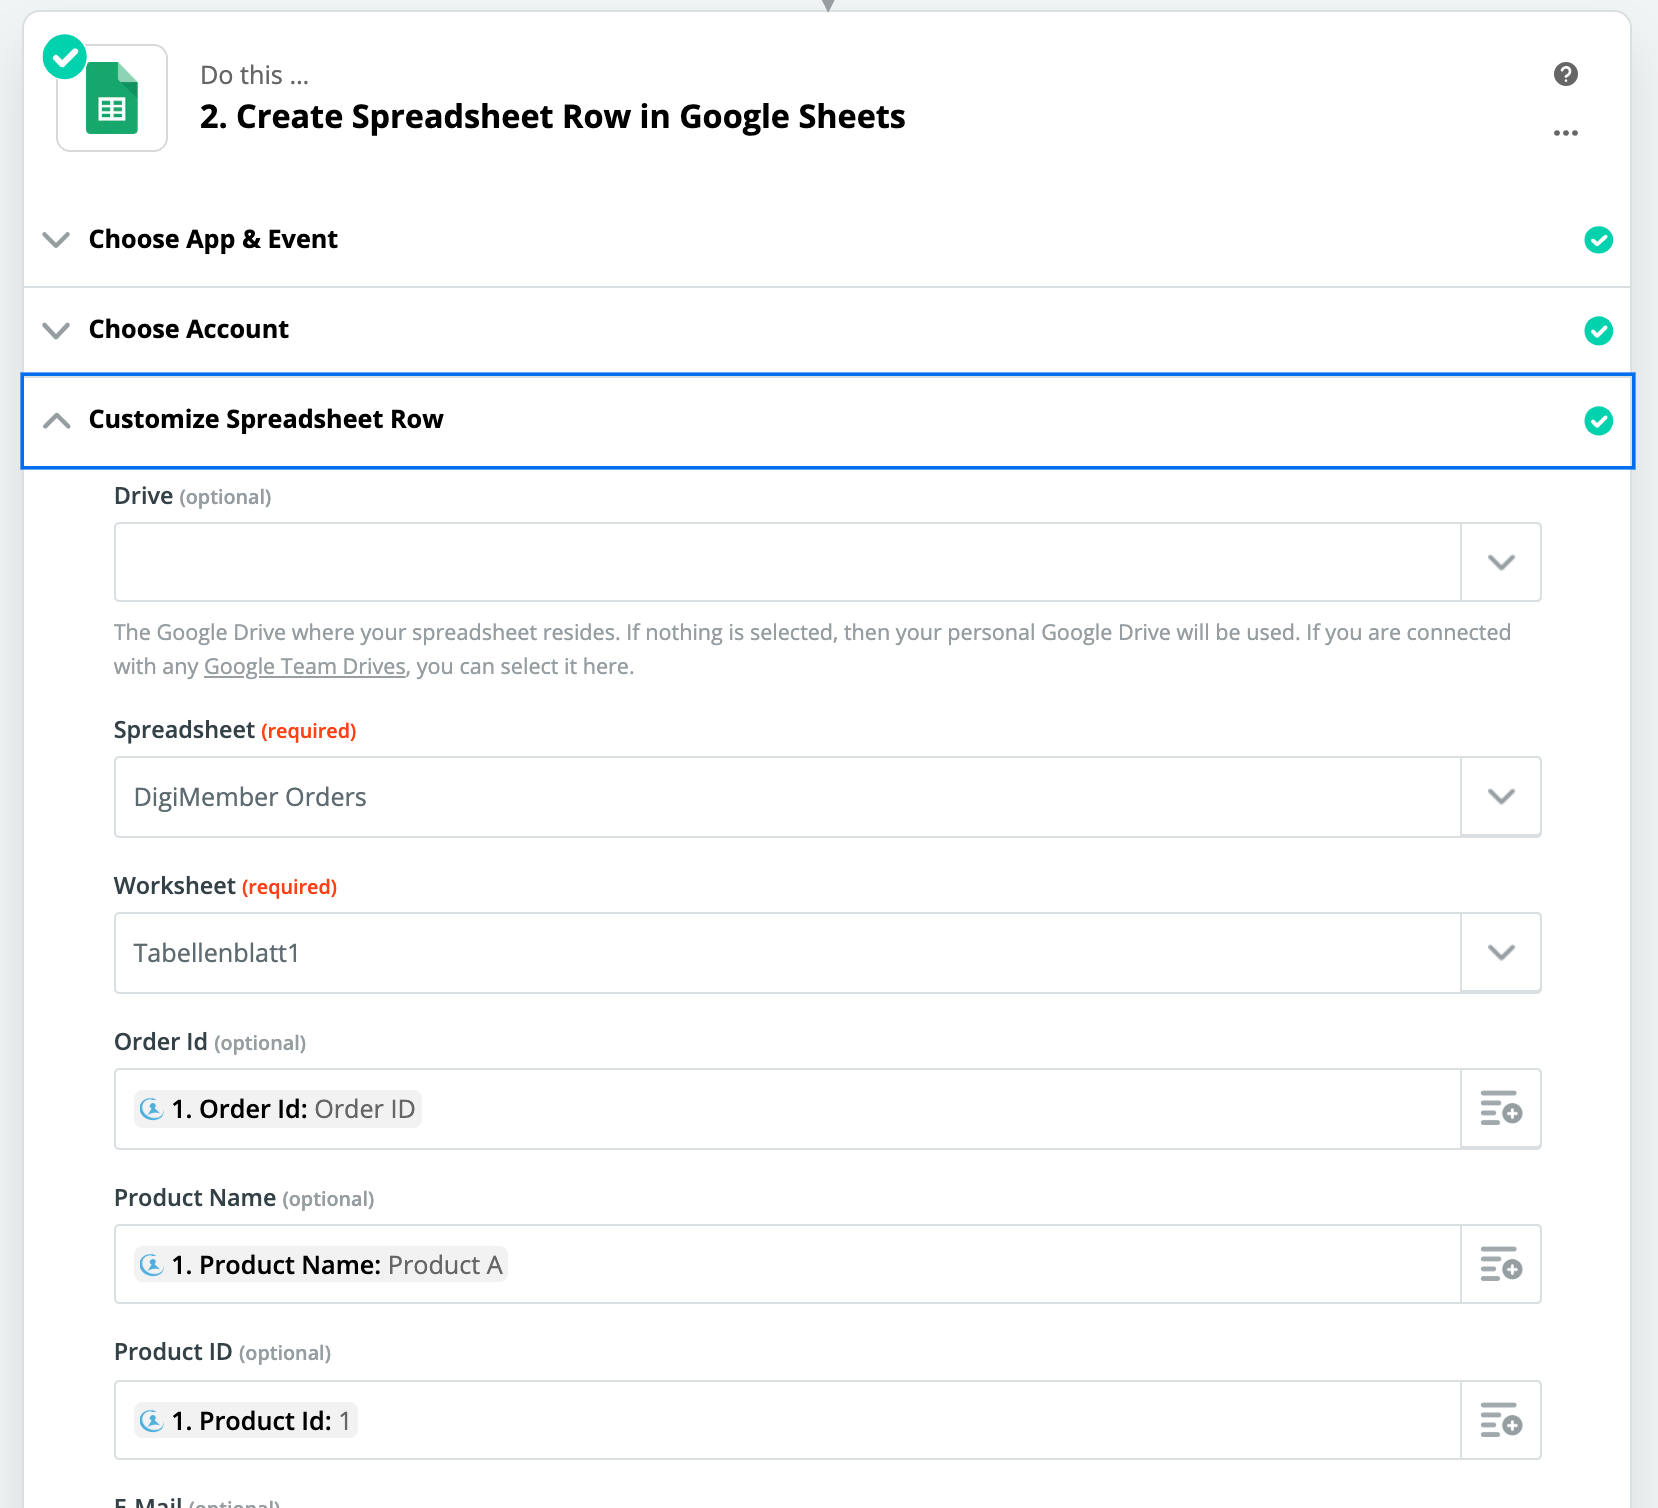
Select the app that should use the data gathered from DigiMember (e.g. an e-mail marketing tool)
Configure how the data should be used
You can use the following parameters from DigiMember:E-Mail
First name and family name of the buyer
the name of the bought product
Order ID
Order date
 7. Turn your Zap an
Frequent error sources
DigiMember is not listed as an app in Zapier:
Please reload the page (zapier) and try again. If that does not resolve the problem, please accept the invitation link again, while being logged into Zapier.
Problem while connecting DigiMember and Zapier
Please check if your API key in DigiMember is still "active" and your URL is typed correctly (e.g. https://www.myOwnSite.com/). You may add a second connection to the same URL with another API Key too.
My test order form the zap hasn't worked!
Please check if the e-mail you used during the zap test was correktly formatted.