7. Mail Texts
E-mails with DigiMember
In this video we will explain how to customize the email texts that are sent to customers, for example after a purchase of your product.
Summary
- Log in to your WordPress dashboard and go to DigiMember -> Mail Texts.
- There you select the type of product for which you want to customize the texts. There are Member Products, Download Products and New Password Mail.
- Don't forget to select the correct product in the drop-down menu above for which you want to customize the email text.
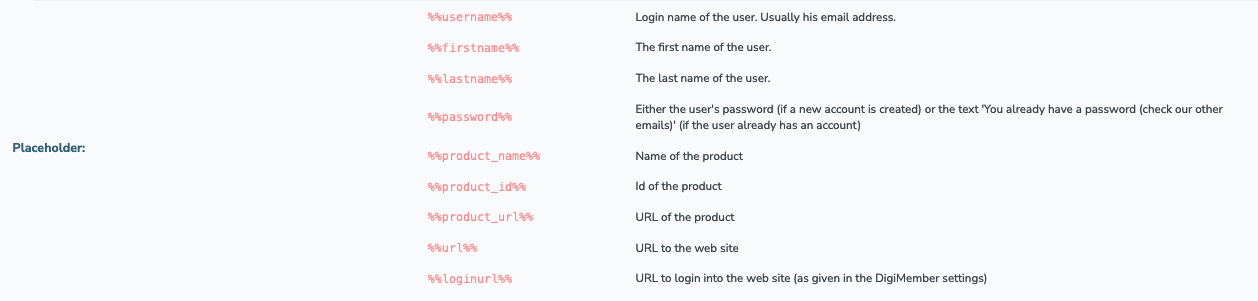
- Optionally write new text for the subject and message. You can use placeholders such as %%username%%% to display this in the appropriate email.
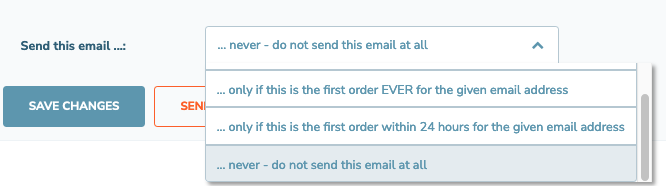
- Select when and how often the user should receive these e-mails by making your selection below the point "Send this e-mail...".
- Click on "Apply change".
- Done.
DigiMember is NO autoresponder or a newsletter plugin! However, there are situations where it is necessary to send e-mails with DigiMember:
- sending the access data
- the "Forgotten password" function
For these two cases DigiMember offers you the possibility to create corresponding e-mail texts and to set in which cases they will be sent.
Welcome E-Mail
After a new user has registered with you or acquired a membership, you can automatically send him/her a welcome e-mail with his/her access data. To do this, you must first set the E-Mail Communication in the DigiMember settings. We recommend that you use your own e-mail address (see E-mail communication - own e-mail address).
Click on "Mail texts " in the DigiMember menu. Then select above the product for which you want to configure your welcome email. Make sure that the "Welcome mail " tab is selected (default).

The subject line and the message field is already filled with text. You can copy this text or change it as you wish.
In the subject line you enter the text that is to appear in the recipient's e-mail box as the subject line. You can use predefined placeholders (e.g. username, password etc.). These can be found at the very bottom of the page.

In the message field you can enter the text that you want your new member to receive in their email. Here you can also work with placeholders.
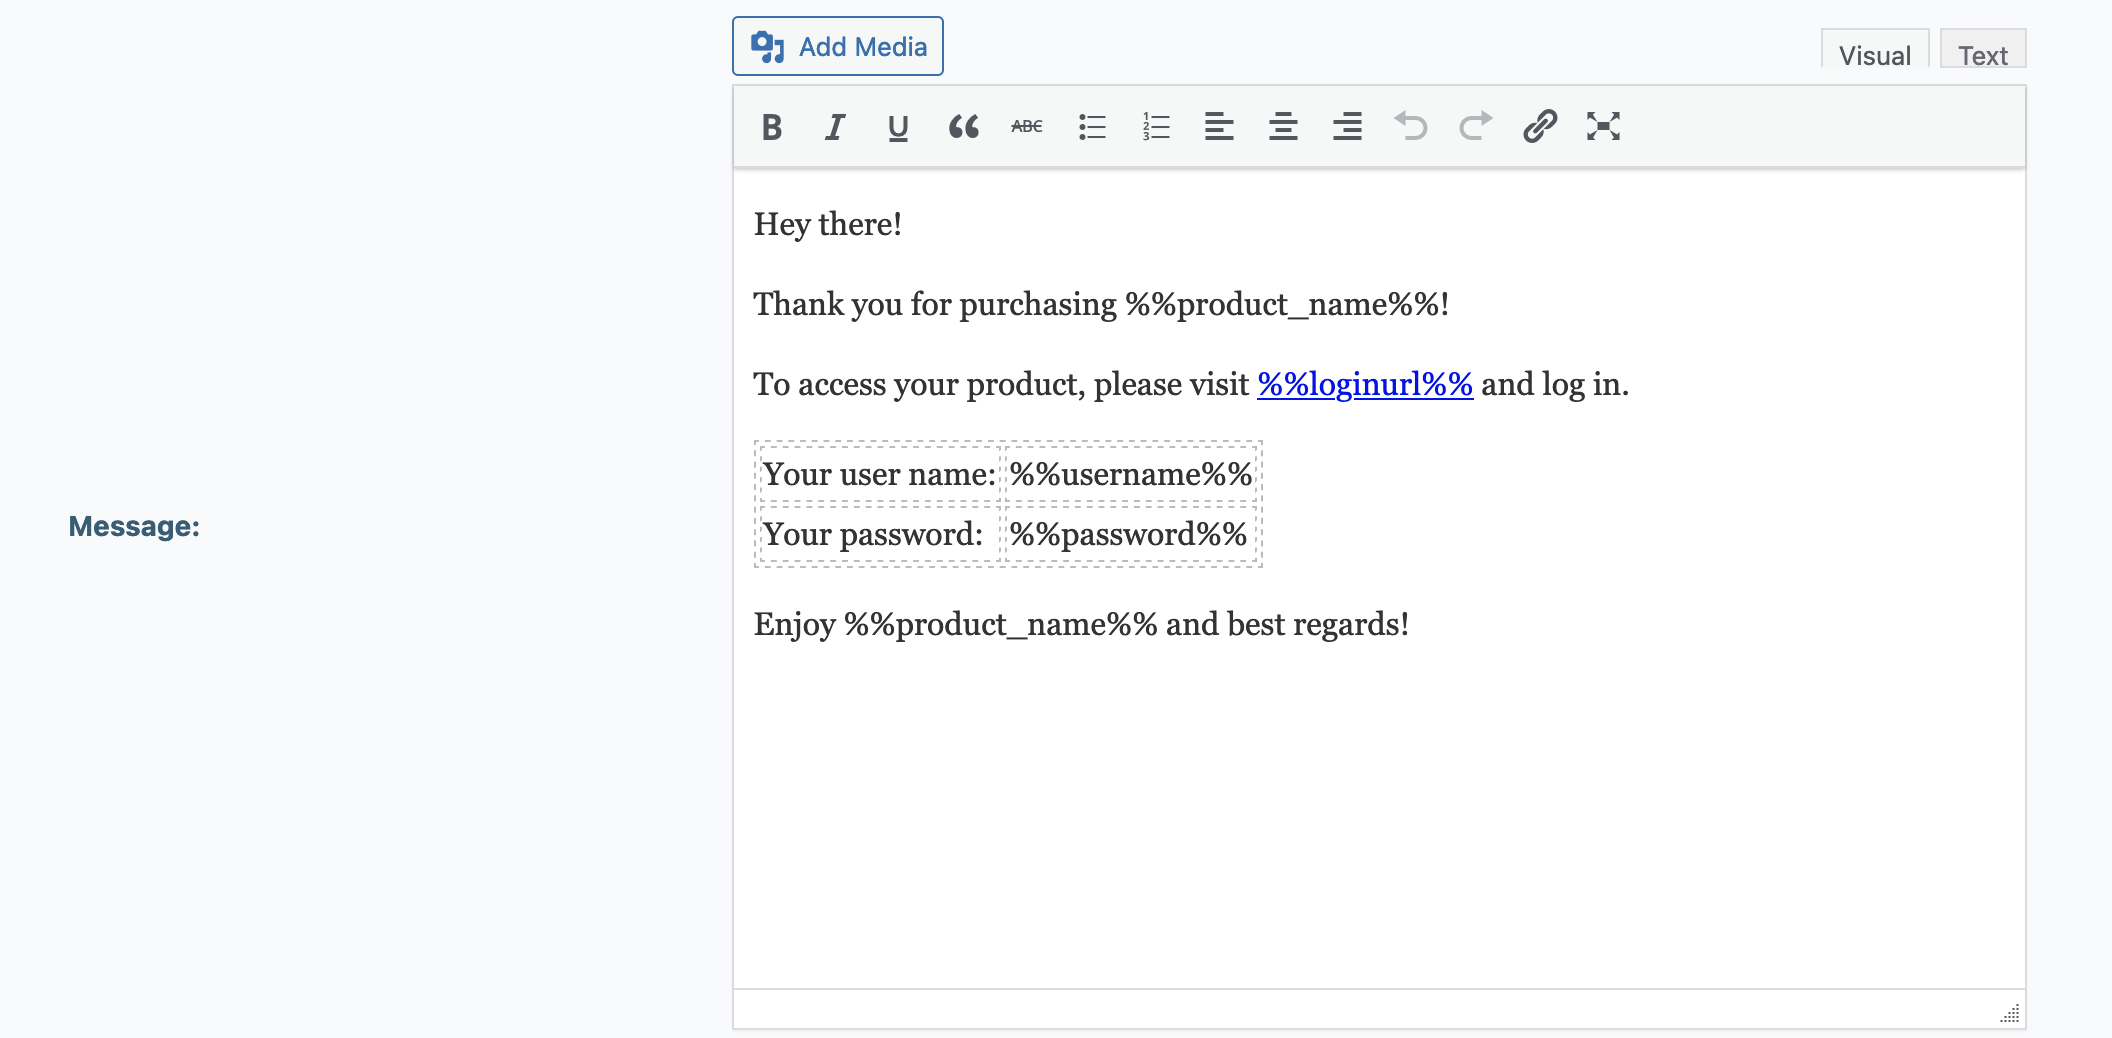
There are several placeholders available, which you can insert into your e-mail as you wish. The placeholders are then replaced by the corresponding value.
Next, you can set the conditions for sending the welcome email. Here you have several options to choose from. Select them from the drop-down menu.
Confirm your settings by clicking on "Apply changes "!
To test your e-mail click on the button "Send test e-mail ", then enter your e-mail address in the popup and click on "OK ". You will then receive a corresponding message whether the sending has worked. If you get an error message please check your E-Mail Communication settings again.
If you receive a confirmation that the email has been sent, check your inbox to see the email.
New password e-mail
If one of your users has forgotten his password, DigiMember provides a "Forgot password" function. This will be automatically displayed below the login field. If a user uses this function he will be asked to enter his user name. The user will then receive an e-mail with a link. By clicking on the link, the user confirms his password change. The new password is valid from this point on.
To edit this confirmation e-mail, click on "Mail Texts " in the DigiMember menu. Then select the tab "New password mail " at the top.

You can then customize the subject line and the text in the message field. As placeholder for the confirmation link use "%%url%%%".
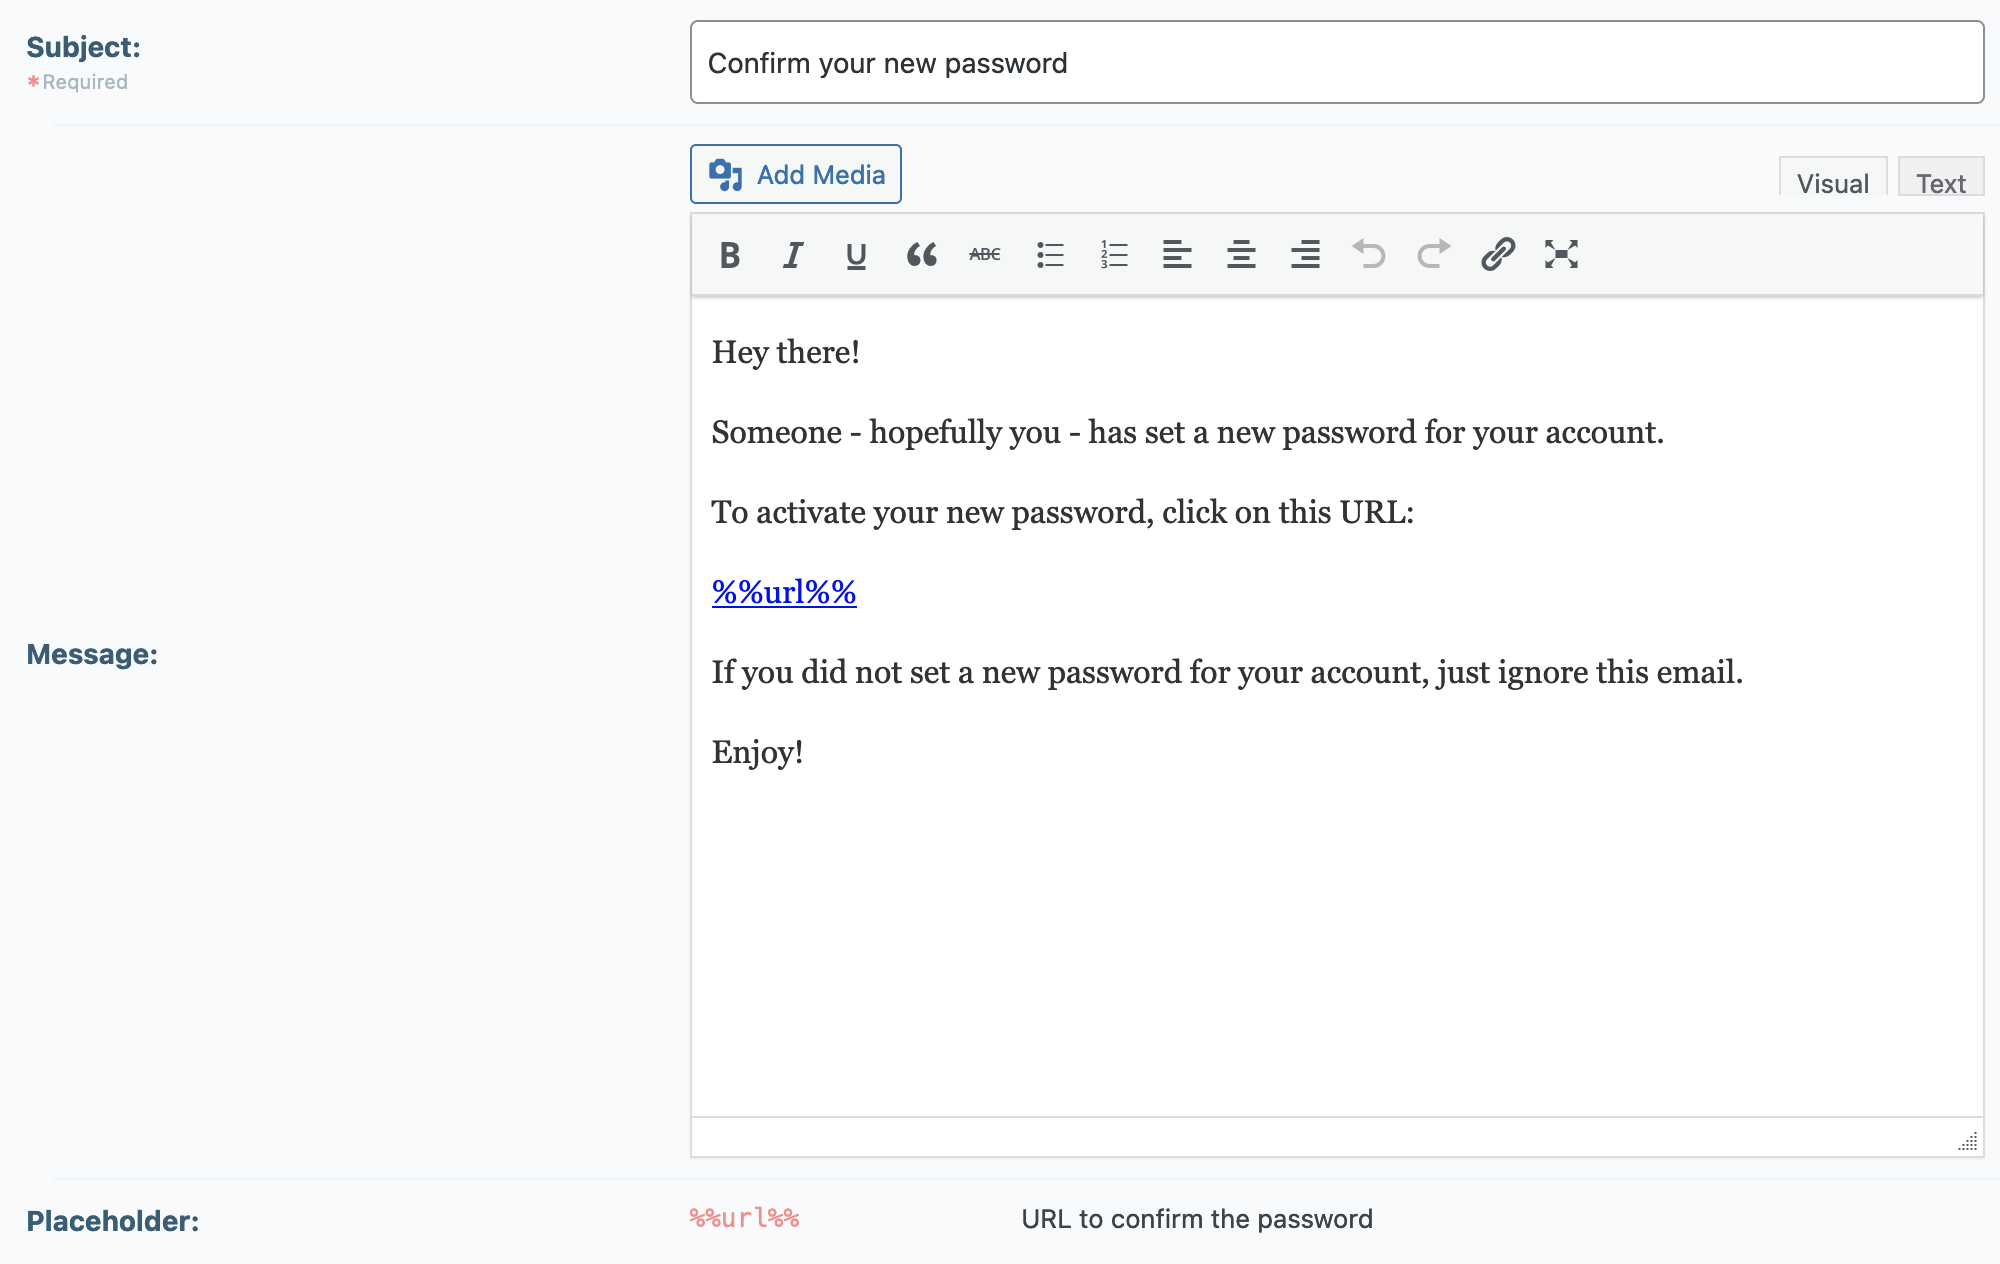
Confirm your settings by clicking on "Save changes "!
To test your e-mail click on the button "Send test e-mail ", then enter your e-mail address in the popup and click on "OK ". You will then receive a corresponding message whether the sending has worked. If you get an error message please check your E-Mail Communication settings again.
If you receive a confirmation that the email has been sent, check your inbox to see the email.