2. Settings
Basic settings
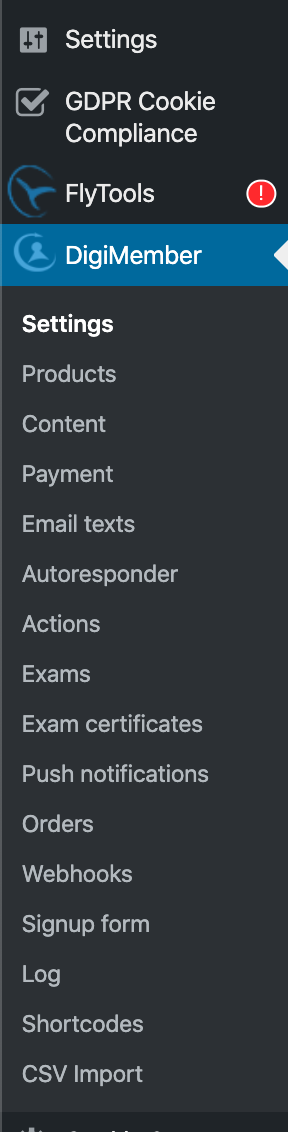
After you have installed and activated DigiMember, the menu item "DigiMember" appears in your dashboard. In order to use DigiMember, some basic settings are required that you must make beforehand. To do this, click on the "Settings" menu item.
Connect to Digistore24
You can easily connect DigiMember with the payment provider Digistore24. Just click on "Connect to Digistore24 now".

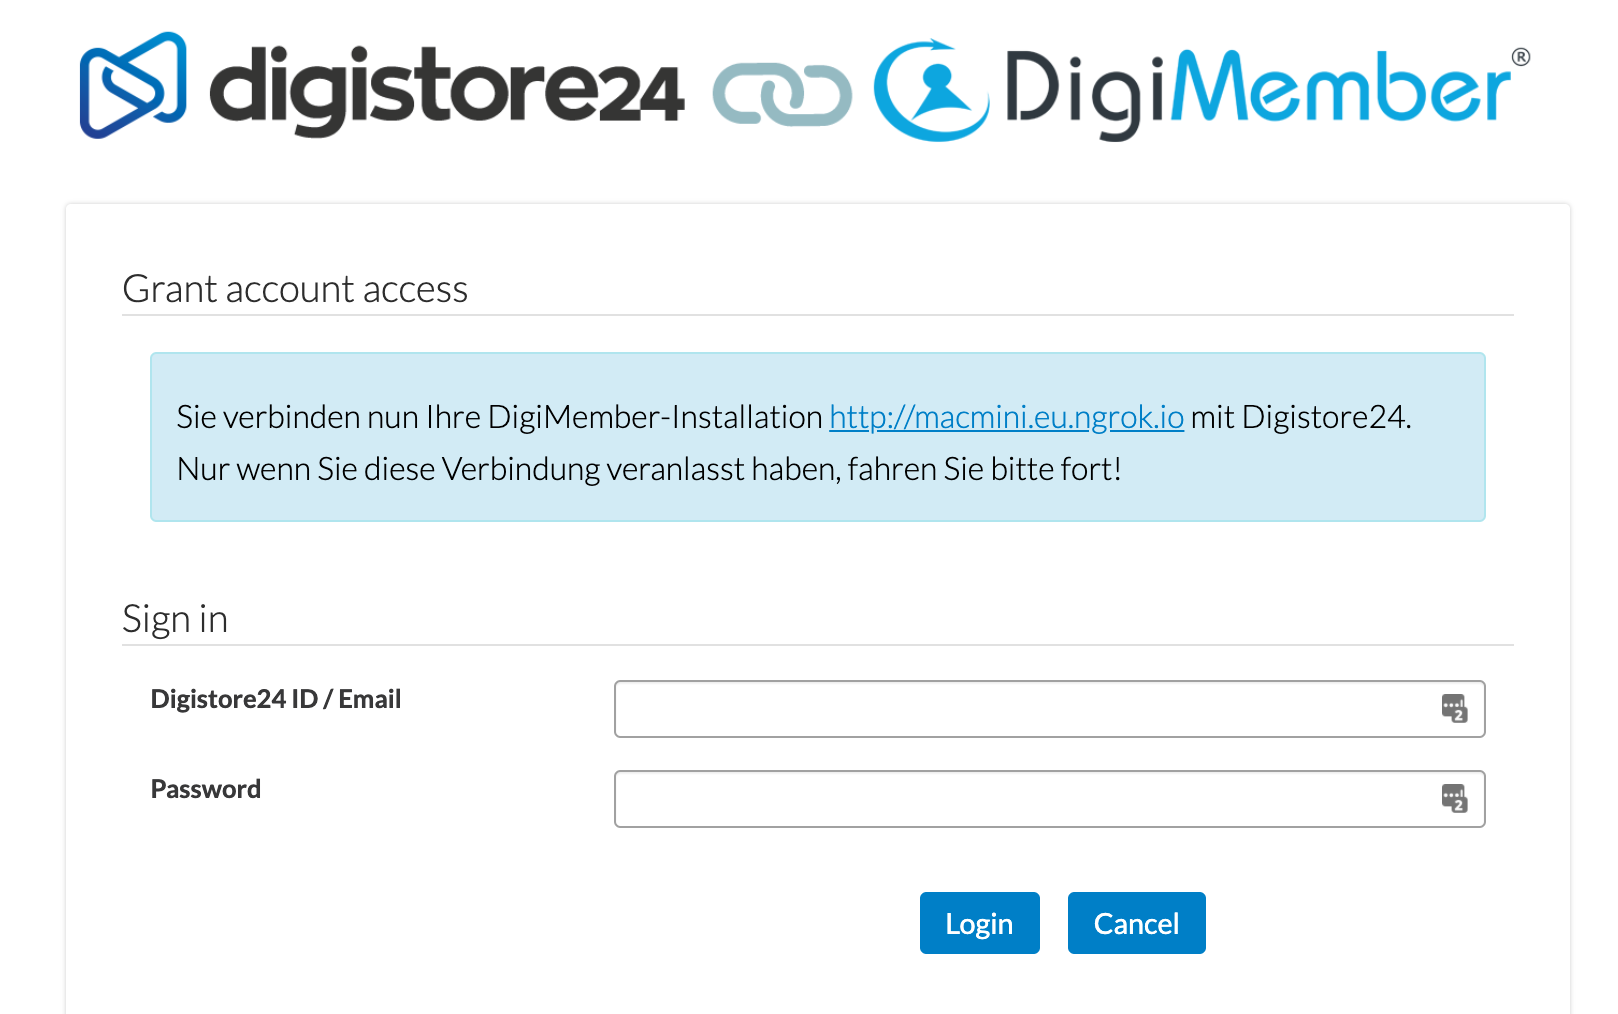
You will then be directed to the Digistore24 website. If you don't have an account yet you can create one HERE. If you already have a Digistore24 account, you have to enter your access data and click on Login.
Then you will return to your WordPress Dashboard and see that DigiMember is now connected to Digistore24.

Activate license
To use DigiMember PRO your DigiMember version must be licensed. To do this, enter your license key in the field provided and click on "Apply Changes" at the bottom of the page

Your license key will then appear in the field provided and your DigiMember PRO version is licensed for this domain. If you want to use your license on another domain, you must first release the key by clicking on the text link "Release license key".

E-mail communication
In some cases it is necessary to send information to your users by e-mail (e.g. to send the access data or if a user has forgotten his password). For this purpose it is necessary that you make the appropriate settings here.
There are 2 possibilities:
- e-mail dispatch via WordPress
- e-mail dispatch via your own e-mail address (recommended)
When sending e-mails via WordPress, the probability is very high that the sent e-mail will end up in the SPAM folder of the recipient or that some e-mails will not be sent at all.
E-Mail dispatch (WordPress)
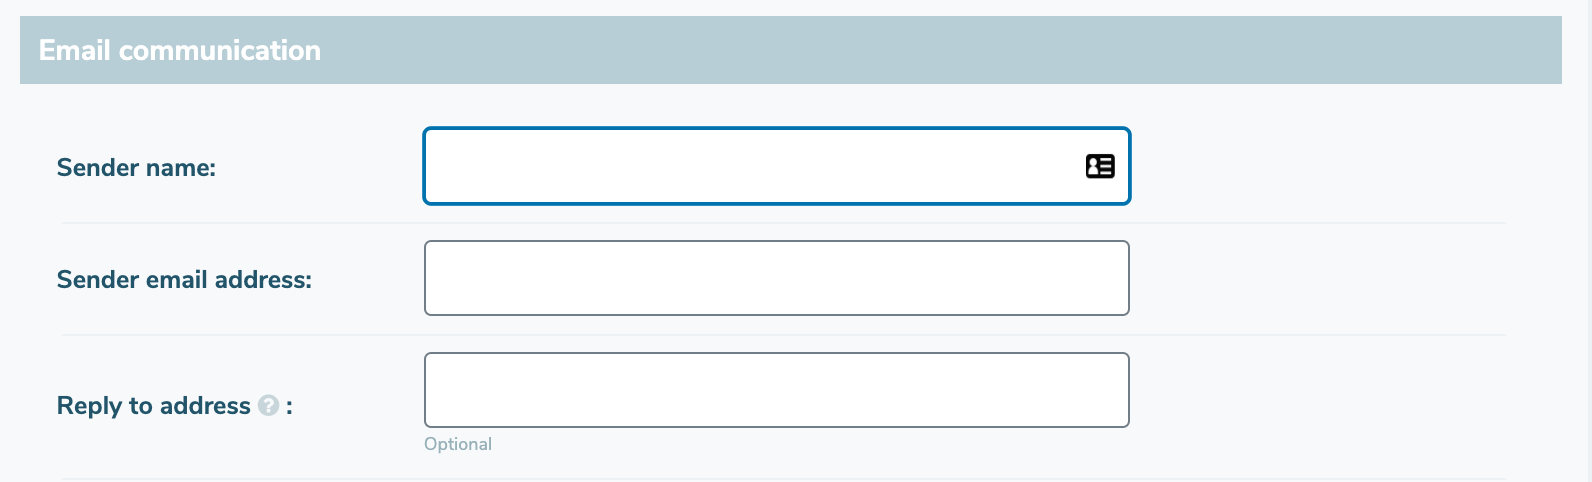
To send your e-mail for DigiMember via WordPress (not recommended), enter your sender name (freely selectable) and your e-mail address in the fields provided. Then confirm the settings click on the button "Save changes" at the bottom of the page.
E-mail dispatch (own e-mail address)
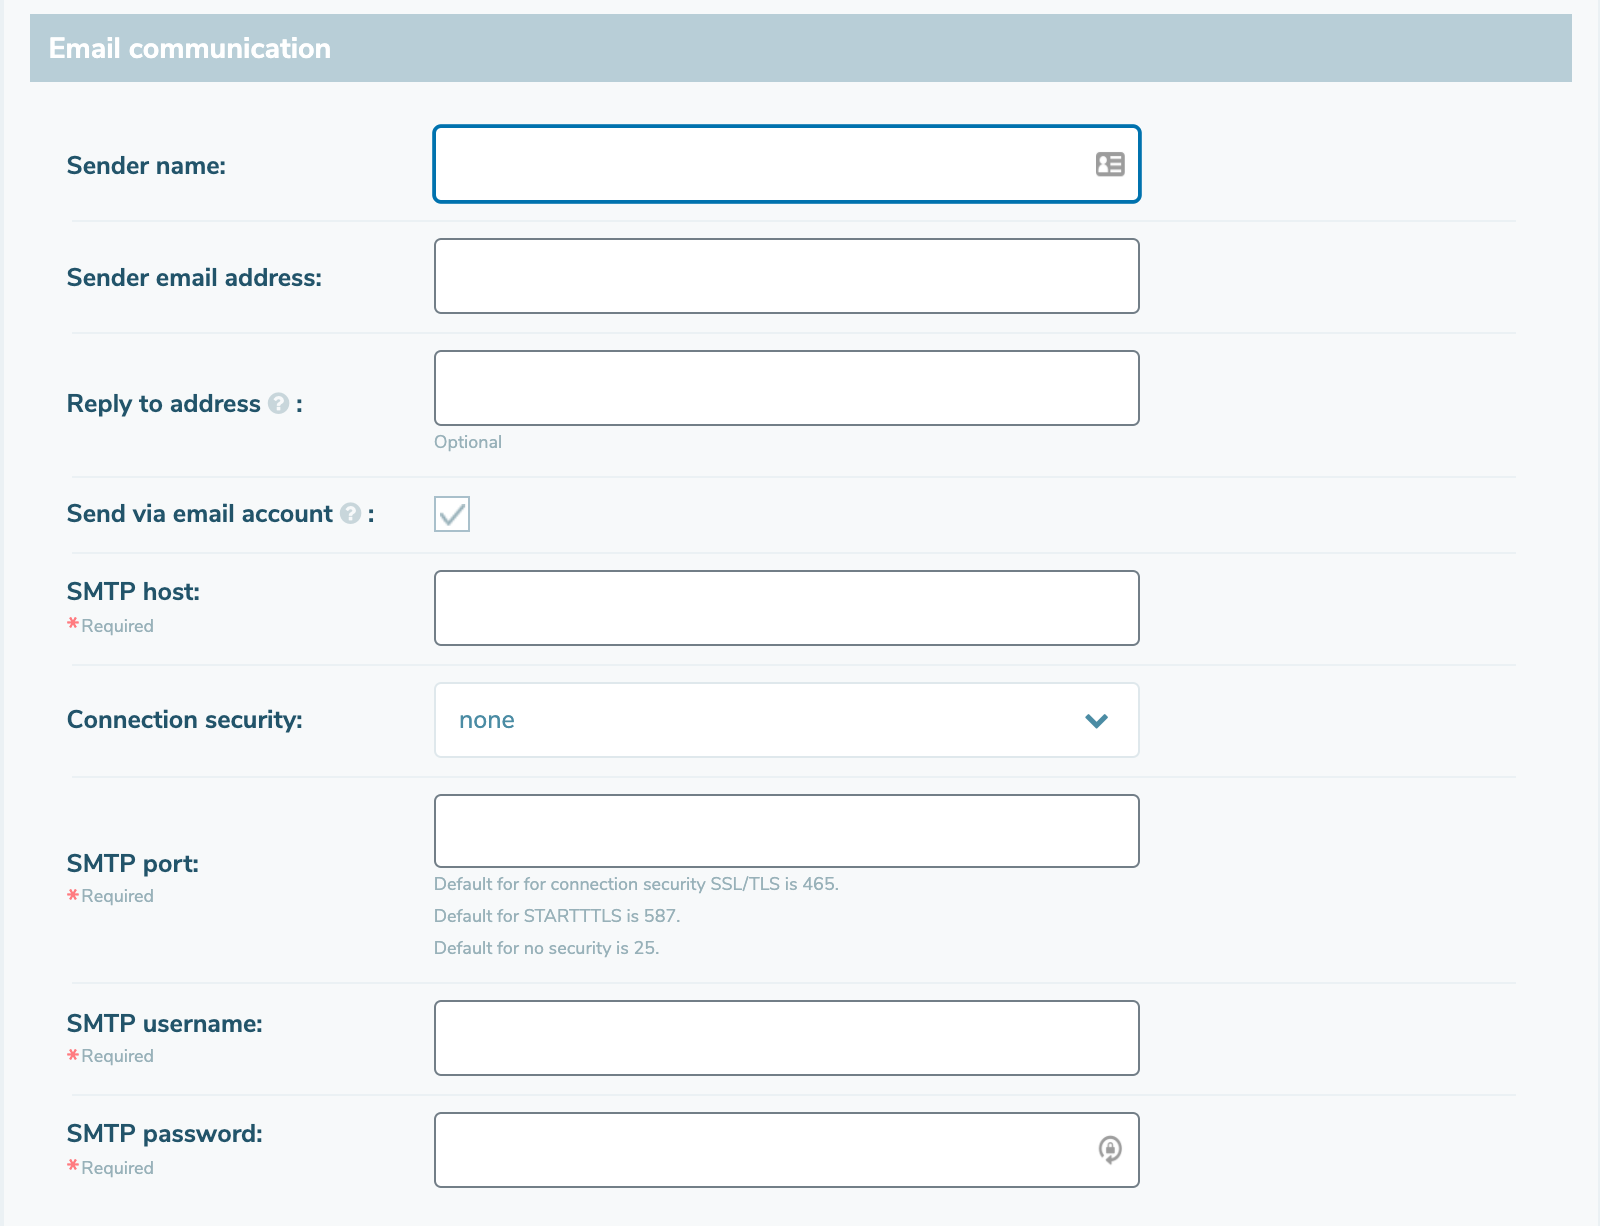
To control the sending of e-mails from DigiMember with your own e-mail address (recommended), fill in the fields Sender name and Sender e-mail address (similar to sending via WordPress). Then check the checkbox (Send via e-mail account) below.
Further fields will then become visible in which you can insert the SMTP data of your e-mail provider. Then confirm the settings at the bottom of the page with "Save changes".
Attention: You can get SMTP data from your email provider, often Google search can help (e.g. SMTP Gmail).
Facebook connection
To enable registration or login via Facebook, check the checkbox "Facebook connection ". This will open 2 more input fields where you can enter your Facebook App ID and your Facebook App Secret. You will receive both from Facebook after you have created your app there.
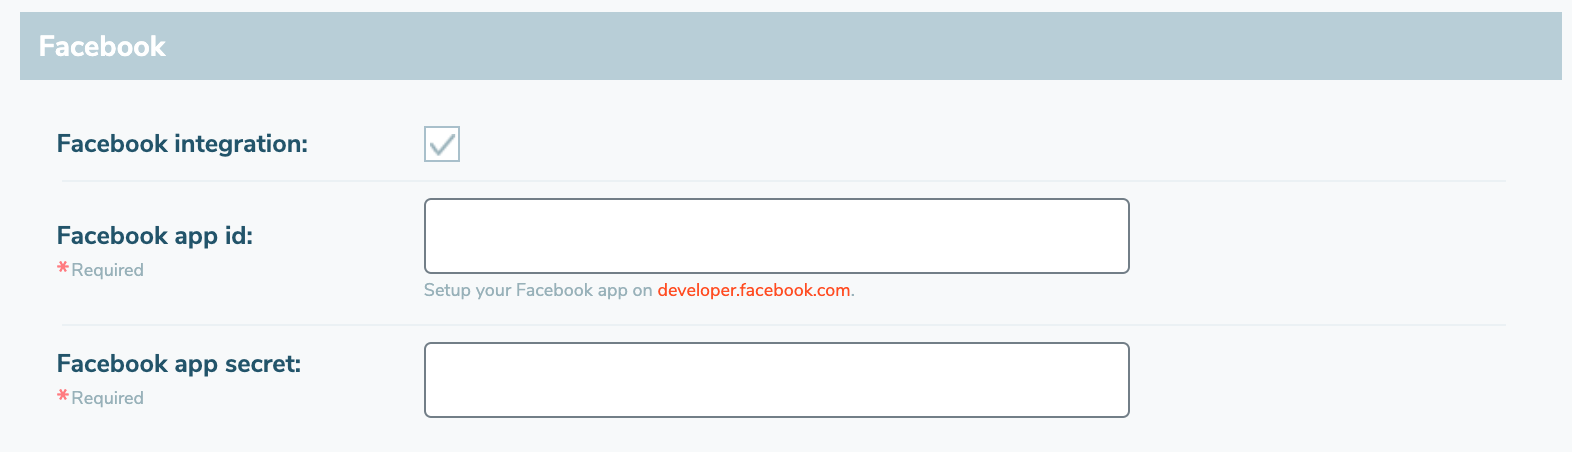
To enable Facebook registration or login via Facebook you must first create an app.
Support URL
In order to be able to carry out an effective error analysis on our side in case of technical problems or bugs, we have provided a support information URL for you. Please send this to us with all technical support questions. To activate the Support Info URL, check the checkbox "Activate Support Info URL ". A URL will then appear, which you should copy exactly and send to us along with your question. Afterwards you can deactivate the checkbox again.
